The Sky’s the Limit- Painting Cockpit Canopies
I love to paint. So while it’s perfectly acceptable to leave those clear cockpits unpainted, I just can’t resist painting them.
Some people say that leaving them unpainted kinda takes something away from the model itself, almost as if you didn’t finish painting it in the first place.
If that’s true than I guess you can say the same thing about clear flying stands as well for that matter. Regardless I like to paint, so I personally have no problem painting both the cockpit and flying bases for my models as of late.
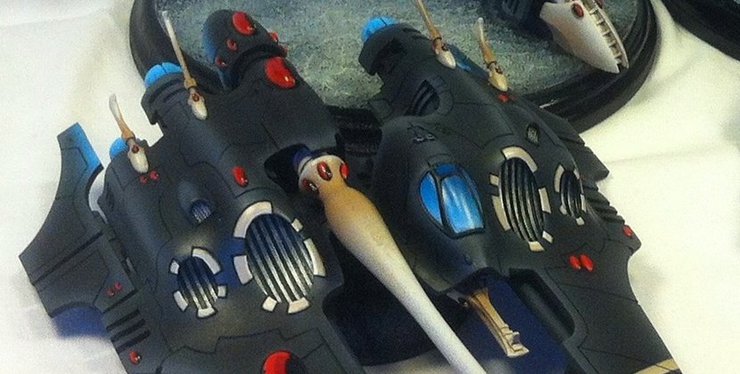
My latest project
an Eldar Lynx had both an unpainted flying stand (more on that later), and a clear cockpit canopy that I wanted to lay some paint down on.
I’ve been on a real airbrush kick lately (see all my
airbrushing tutorials here) so I figured that would also be a great way to “seamlessly” paint this canopy in a fraction of the time it would normally take to do it by brush!
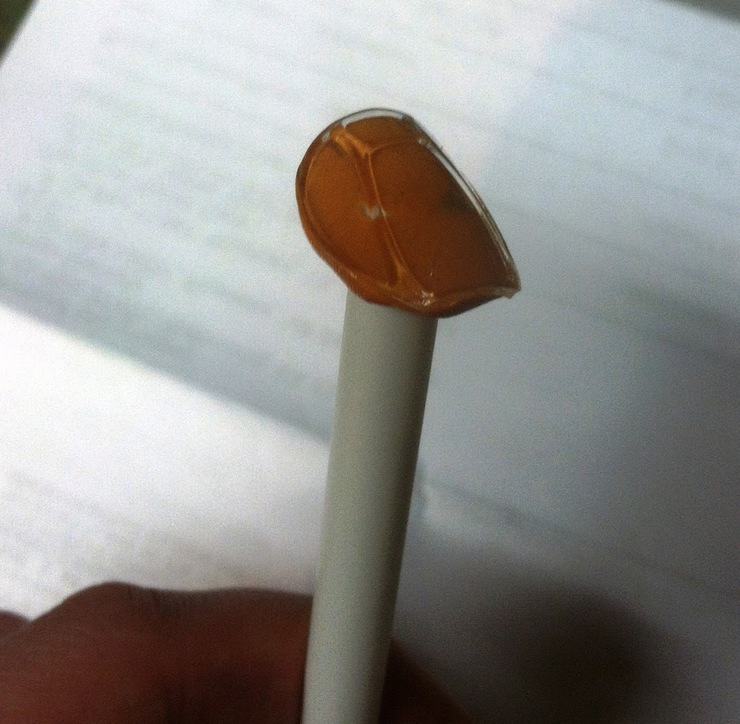
So to accomplish this, first I had to make a “jig” to secure the canopy while I sprayed it with paint.
I grabbed a piece of plastic tubing and used some silly putty to hold the canopy to the top of the tube while I painted it.
Next I sprayed it with
Uniform Grey primer from Army Painter (although you can use the cheap stuff from Wal Mart just as well here) to keep the undercoat a neutral color for the work I was going to do to it.
Then I used the following colors to shade the canopy, Minitaire
Lagoon Blue (Enchanted Blue from GW/ Vallejo),
Light Sea Blue (Vallejo Air Color 71.089) and Minitaire
Snow White.
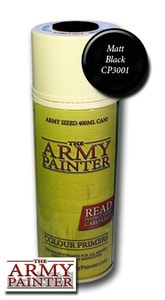 Army Painter Matt Black
 was used later to paint on the support structure around the canopy glass, as it matches the basecoat (Matt Black Primer) of the Lynx itself.
The nice thing about the Army Painter paints and primers is that they match each other well, so touching up mistakes, even on larger models, is a breeze!
I checked out some pictures of jet cockpits on the internet, and what I wanted to do was a little exaggerated, and not really what you would see reflected on say a real world F-16 that is a sub-atmospheric craft. But checking reference material is always a good idea before you start any project IMHO.
The fade on this project would start at the bottom, and work its way to the top of the canopy, going from lightest to darkest.
So to start out I basecoated Lagoon Blue on to the cockpit, and then waited for it to dry.
If you are in “a hurry” when airbrushing and are using a dual action brush, you can just press down on the trigger for a blast of air that from a distance can help accelerate the drying process on models!
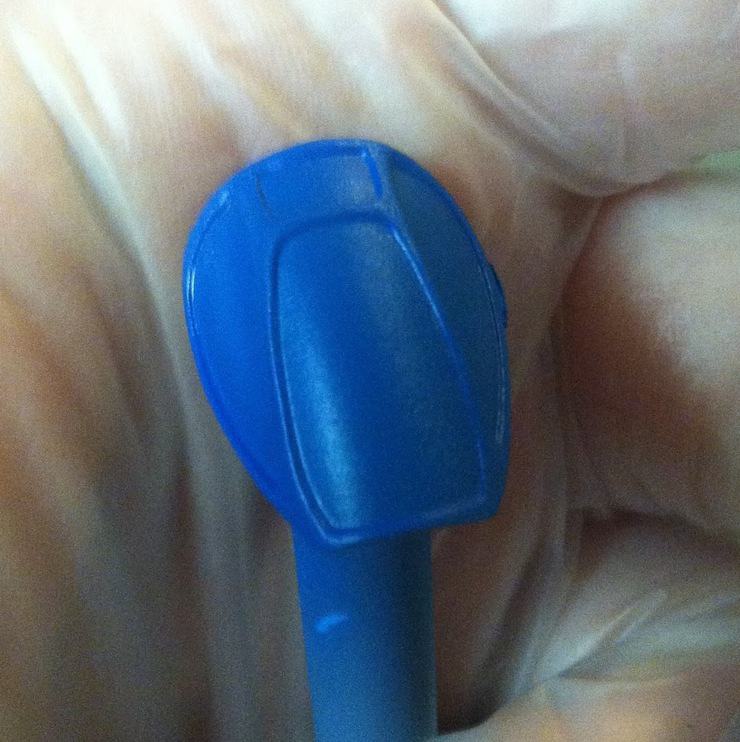
Next up I sprayed Light Sea Blue from the bottom of the canopy to about 3/4ths of the way up to the top, taking care to fully coat the bottom of the cockpit but leaving the fade towards the top.
I added in some snow white to the airbrush reservoir with the light sea blue to lighten up the mix a bit.

Then I sprayed that mix again from the bottom of the model to about half way to the top of the canopy, leaving a fade from the lighter blue to the darker now.
Then I sprayed a quick coat of Minitaire’s Gloss Coat on to protect the fade from chipping.
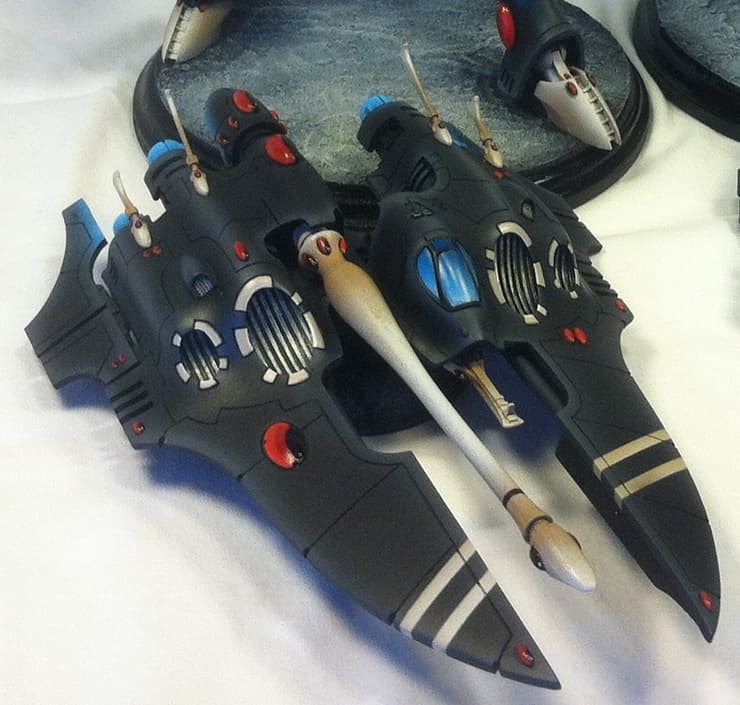
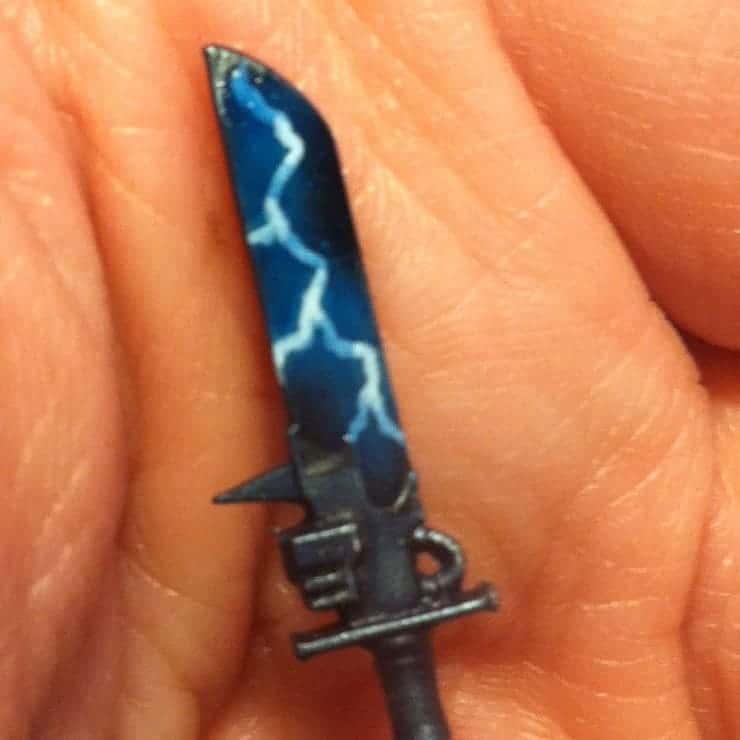
Lastly I used a fine detail brush and painted all the lines around the cockpit glass using the Army Painter Matt Black.
Just before I sprayed matte coat on the finished Lynx model, I glued on the painted cockpit so it would get a nice seal as well (and protect the black I did over the fade).
After all that dried I used some brush on gloss coat and went back and painted the canopy glass so it “shined”.
So that’s pretty much it, canopies are pretty easy to airbrush with a little patience and the right set up!
Don’t forget to checkout some of the other
airbrush tutorial articles I did as well. From Eldar to Grey Knights to Daemons- we got you covered!
-MBG
If you buy something from
a link on our site, we may earn a commision. See our ethics statement.
Rob Baer
 Job Title: Founder, Publisher, & Managing Editor
Founded Spikey Bits In 2009
Socials: Rob Baer on Facebook and @catdaddymbg on X
Bio: Virginia restless, miniature painter & cat dad. He blames LEGOs for all this, as there was something about those little-colored blocks that started it all. Spikey Bits started with Rob trying to stay motivated to hobby on his backlog of projects and share his knowledge with others during the early blogging era.
Scale model hobbyist in the 80s, miniature wargamer, and trading card player ever since. He’s played every edition of Warhammer 40k and Warhammer Fantasy since 5th Edition, but Titans of all sizes will always be his favorite! It’s even rumored that his hobby vault rivals the Solemnance Galleries, containing rulebooks filled with lore from editions long past, ancient packs of black-bordered Magic Cards, and minatures made of both pewter and resin.